
How to transfer a tattoo stencil
Prep the skin, use a thin layer of transfer solution, press without sliding and let the lines dry. Six steps, the products that work, and fixes for stencils that smear or will not stick.
Updated November 2026
Transfer a stencil in six steps
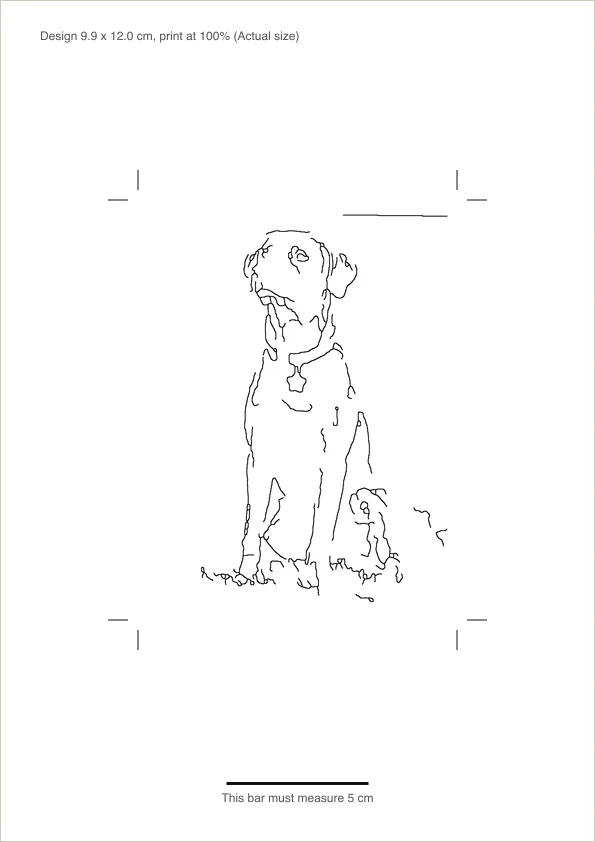
1Print or copy the stencil
Put the design on thermal or 4-ply hectograph paper at its real size. Check the 5 cm bar first (see how to print a stencil), then trim it with about 1 cm of margin.2Prep the skin
Shave the area, even if the hair is fine. Clean with green soap, wipe with alcohol and wait until the skin is completely dry.3Apply a thin layer of solution
A thin, even layer of transfer solution over an area slightly bigger than the stencil. Let it turn tacky; a puddle makes the lines bleed.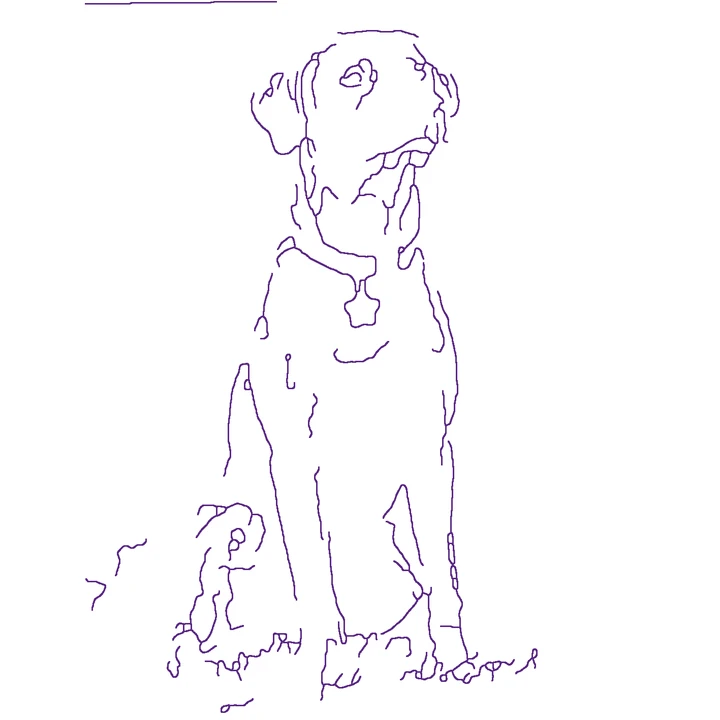
4Place and press
Hold it by the edges, lay it from the centre outwards and press flat for 10 to 30 seconds. Do not slide it: one movement doubles every line.5Peel and check
Peel slowly from one corner. Check placement in the mirror with the client standing relaxed, not with the arm stretched on the bed.6Let it dry
Give the lines 10 to 15 minutes before you wipe or start lining. Dry lines survive the session; wet ones smear on the first wipe.
What you need
- A stencil on thermal paper (from a thermal printer or copier) or on 4-ply hectograph paper traced by hand. A print from a regular printer on plain paper does not transfer by itself.
- A disposable razor, green soap, 70% alcohol and paper towels.
- Stencil transfer solution, and nitrile gloves if you are working on someone else.
- For practice: a sheet of synthetic practice skin, or a grapefruit or banana if you only want to try the press.
Do you need to mirror the stencil?
This is the question that ruins the most lettering. On thermal paper and hand-traced 4-ply paper, the purple lines sit on the back of the top sheet, already reversed. When you press that side onto skin, the image flips back and reads correctly. So for those methods, leave the design unmirrored when you print or copy it.
Mirror only when the side you printed on is the side that touches the skin: for example an inkjet print made with stencil ink straight onto transfer paper. The stencil maker has a Mirror for transfer switch for exactly this case. Lettering shows the mistake instantly, so before you transfer a name, hold the sheet up to a window and read it from the purple side.
Transfer solution, deodorant or soap?
Searches for "stencil with deodorant" are common because solution is one more thing to buy. Here is how the usual options compare.
Stencil transfer solution
The standard choice. Made to grip the carbon and hold for a whole session.
Watch out: Too much is the most common cause of blurry lines. A few drops are enough for a forearm.
Clear stick deodorant
A cheap stand-in that many people try at home.
Watch out: Holds for less time, and fragrance or aluminium can irritate broken skin. Not for client work.
Green soap
Good for cleaning. A thin film can carry a light transfer for practice.
Watch out: Too wet and the lines run; it fades quickly once you start wiping.
Petroleum jelly
Sometimes used on fake skin.
Watch out: Too greasy for real skin: the stencil slides and the lines smear. Keep it for aftercare, not transfer.
Placement that holds up
Place the stencil with the body in the pose it will be seen in. A forearm piece placed with the palm up drifts when the arm turns; a rib piece placed lying down shifts when the client stands. Mark a centre line with a skin marker first when symmetry matters, such as a sternum or back piece, and line up the centre of the stencil with it.
Curved areas like the calf, shoulder or ankle bend a flat sheet. Make relief cuts towards the design in the margin so the paper can follow the curve, or split a large stencil into two parts and transfer them one after the other. If the size feels wrong once it is on the skin, it is cheaper to wipe it off and print again at a new size than to live with it: the size guide lists common sizes by placement.
When the stencil will not stick or smears
Lines are faint or patchy
The skin was not tacky enough, or the stencil sheet was old. Apply a fresh thin layer, wait until it is tacky rather than wet, and press again with a new copy. Thermal sheets dry out with age; keep them in their box away from heat and light.
Lines are blurry or doubled
Too much solution, or the sheet moved while you pressed. Blot the area, use less product and lay the sheet down in one movement.
The stencil wipes off during lining
It did not dry long enough, or the wipe was too rough. Wait the full 10 to 15 minutes, keep your petroleum jelly or ointment away from areas you have not lined yet, and dab instead of wiping along the lines. Line the parts closest to your wiping hand last.
Fine details are lost
The lines on the stencil were too thin or too close for the size. A stencil is a guide, not the finished drawing: in the stencil maker, the transfer badge flags lines thinner than 0.3 mm or closer than 0.4 mm. Make the design a little bigger or pick a heavier line weight before you print.
Practising on fake skin
Synthetic practice skin is the best place to rehearse the whole routine. Wash it with soap and water, dry it, use a thin layer of solution and press as you would on a client. It is not porous, so lines take longer to set and wipe off sooner: leave it 20 minutes and go easy with the towel. Print practice stencils from the free stencil gallery at a size that fills your practice sheet.
Next steps
Questions
How long should a tattoo stencil sit before tattooing?
Press the stencil for 10 to 30 seconds, peel it off, then let the lines dry for about 10 to 15 minutes before you wipe or start lining. Wet lines smear the moment a gloved hand or a towel touches them.
Can I transfer a stencil with deodorant or soap?
People do: a thin layer of clear stick deodorant or green soap gives the carbon something to grip. It is cheaper but less predictable than stencil transfer solution, it holds for less time and some deodorants irritate skin. If you tattoo other people, use a solution made for the job.
Why does my stencil smear or fade?
Usually too much transfer product, skin that was still wet or oily, or wiping before the lines dried. Use a thin even layer, blot the excess, wait 10 to 15 minutes, and wipe with a light dabbing motion instead of rubbing along the lines.
Why will my stencil not stick to the skin?
The skin is too dry, too oily or not shaved, or the stencil sheet is old and its carbon has dried out. Shave, clean with alcohol, let it evaporate, apply a fresh thin layer of solution and press the sheet with flat, steady pressure without sliding it.
Can I transfer a stencil without transfer paper?
For practice, yes: a print from a regular printer can be traced onto the skin with a skin marker, or pressed on with a little deodorant so the toner leaves a faint guide. For a real tattoo, thermal or 4-ply hectograph paper gives a much sharper and longer-lasting line.
How do I transfer a stencil to fake skin?
Wipe the practice skin with soap and water, dry it, apply a thin coat of stencil solution and press the sheet as you would on a client. Practice skin is not porous, so give the lines extra drying time and expect them to wipe off sooner.
Should a tattoo stencil be mirrored?
Not for thermal paper or hand-traced 4-ply paper: the lines sit on the back of the sheet and the press reverses them back. Mirror only when the printed side itself touches the skin, such as an inkjet print made with stencil ink.