
Image to Tattoo Stencil: Convert Any Photo for Free
You can turn almost any image (a photo, a sketch or a screenshot of a reference) into a tattoo stencil in about a minute. This guide shows what makes a good source image, which settings to use, and how to print the result at the exact size you need.
Last updated:
Ready to try it? The converter is free, needs no account, and runs on your device.
Open the stencil makerWhat “image to stencil” actually does
A tattoo stencil is a guide, not a finished drawing. It marks outlines, the borders between major tones and key details so the artist can place the design on skin. Converting an image therefore means removing information: colour, gradients and texture go, and only the lines that define shapes stay.
Our converter does this with two classic image-processing methods. Outline mode uses a difference-of-Gaussians edge filter (the same family of filters used for pencil-sketch effects). It is tuned to draw one clean line on the dark side of each edge rather than a messy double line, and then rebuilds the lines at an even width so they read like tattoo linework. Solid mode applies an automatic threshold that keeps dark areas filled. That is what you want for lettering and bold flash.
Examples: photo to stencil
These public-domain illustrations went through the same converter, with the settings shown under each stencil in the free stencil gallery.
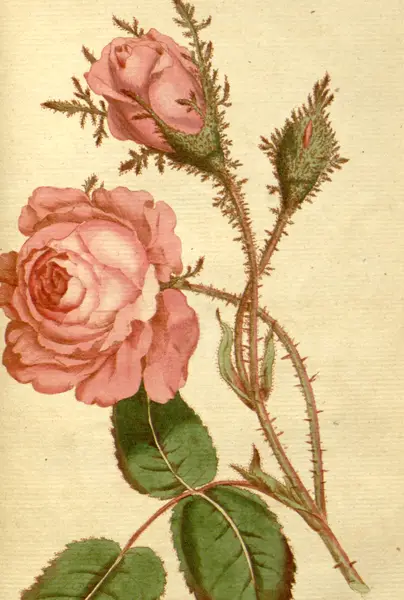
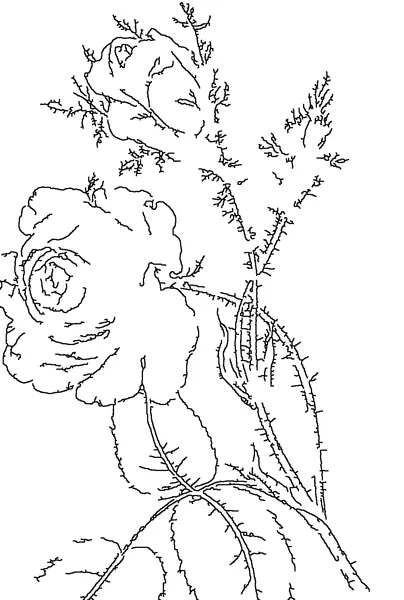
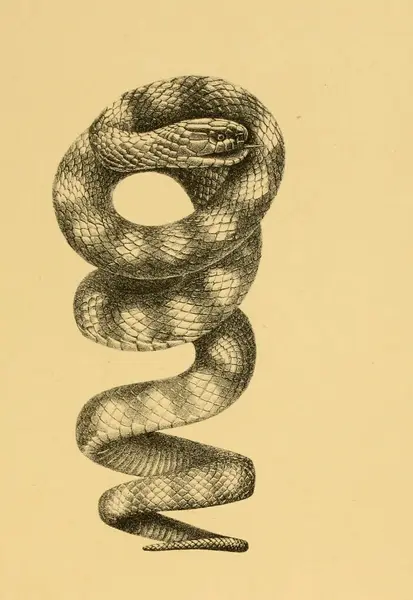
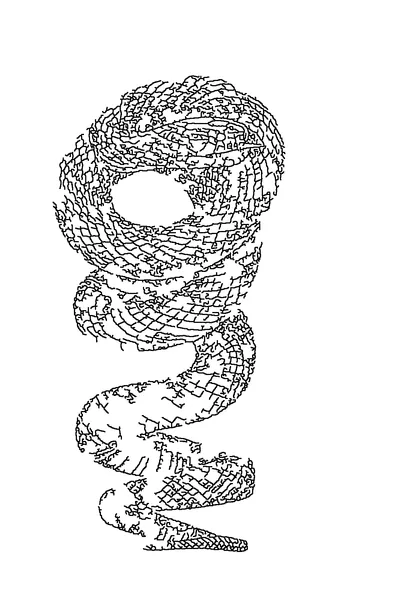
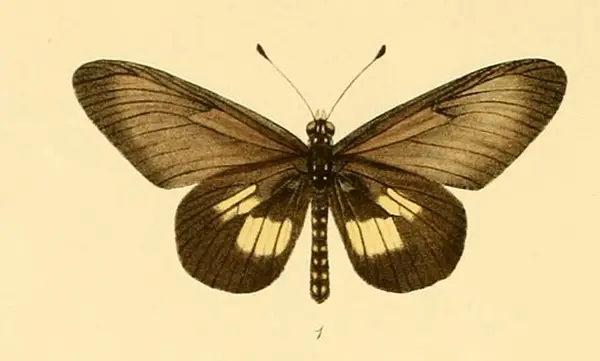
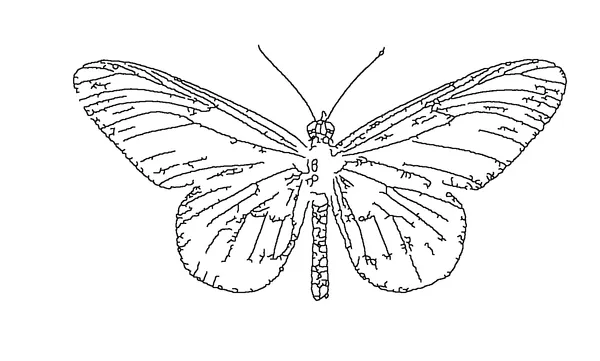
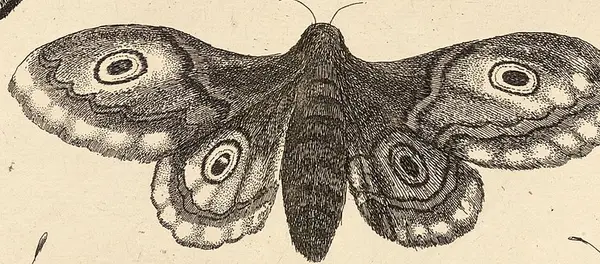
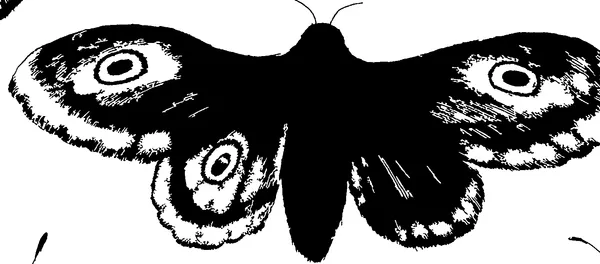
How to convert an image to a tattoo stencil, step by step
- Choose a clear source image. Pick a sharp photo where the subject is large in the frame and stands out from the background. Side lighting that shows form converts better than flat, front-on flash. Crop out everything you don’t want tattooed before you start.
- Open it in the stencil maker. Go to the free stencil maker and upload, drag or paste the image. It is processed on your device and never uploaded.
- Pick Outline or Solid mode. Use Outline for photos and realism (it traces contours). Use Solid for lettering, tribal, silhouettes and existing flash (it keeps filled black shapes).
- Adjust detail, line weight and clean-up. Lower Detail for bold, simple linework; raise it for fine detail. Line weight sets stroke thickness. Clean-up removes specks and short broken lines from background texture.
- Set the size on skin. Type the height or width the tattoo should be, in centimetres or inches. The tool shows how many A4 or Letter sheets it needs.
- Export and print. Download the PDF and print it at 100% (Actual size), or export PNG/SVG for Procreate. Tick Mirror if you will transfer with thermal or hectograph paper.
Which images make good stencils?
| Works well | Struggles |
|---|---|
| One subject that fills the frame | Small subject with a busy background (leaves, crowds, patterned fabric) |
| Strong side light that shows the form | Flat, low-contrast light, or heavy shadows hiding edges |
| Line drawings, flash, lettering (Solid mode) | Very blurry or heavily compressed screenshots |
| Animals, flowers, skulls, objects | Soft photorealistic portraits (fine for placement, but plan to redraw by hand) |
Only use images you have the right to use. Copying another tattoo artist’s design without permission is widely considered unacceptable in the industry, even when it is technically possible. Use your own photos, public-domain sources, or designs you have commissioned.
Fixing common problems
Too many lines or noisy texture
Raise Clean-up first. It removes specks and short broken strokes. If the result is still busy, lower Detail so only the larger shapes are traced, or crop the photo tighter.
Lines are broken or missing
Raise Detail. If an edge is still missing, the photo probably has too little contrast there. Try a different photo or edit the brightness before converting.
Lettering looks too thin or blobby
Switch to Solid mode. Move Darkness right to thicken strokes or left to open up closed letters, then fine-tune with Line weight.
The print came out the wrong size
Your print dialog scaled the page. Choose “Actual size” / 100% and check the 5 cm calibration bar printed on every sheet. More in how to print a tattoo stencil.
Image to stencil for Procreate and iPad
Export a PNG (300 DPI) or a transparent SVG and import it into Procreate as a new layer. Set the layer to Multiply, lower its opacity and draw your final linework on a layer above. The SVG keeps the real-world size you entered, so it imports at the right scale into vector apps too.
Image to tattoo stencil FAQ
Is there a free tattoo stencil maker with no signup?
Yes. The Tattoo Stencil Maker on this site is free, needs no account, adds no watermark and has no daily credit limit. It runs in your browser: your photo is processed on your device and is not uploaded. It does not use generative AI; it extracts lines with image processing and gives you sliders for detail, line weight and clean-up.
How do I turn a photo into a tattoo stencil?
Upload or paste the photo, choose Outline (contours, for photos and realism) or Solid (filled shapes, for lettering, flash and tribal), adjust Detail, Line weight and Clean-up until the lines read well, type the size you want on skin, then download the PDF and print it at 100%. High-contrast photos with a plain background give the cleanest lines.
Does the tattoo stencil maker upload my photo?
No. Extraction, preview and export all run in your browser on your device. The page only sends small usage events, such as page loaded, image opened and stencil exported (file type, mode, paper size and sheet count), linked to one first-party analytics cookie with a random visitor id. Never the image, no third-party tracking and no ad cookies.
Which export formats are available?
A true-size 300 DPI PDF (auto-tiled across A4 or US Letter sheets with crop marks), a 300 DPI PNG with the physical size embedded, and an SVG vector with the size in millimetres. Choose black or stencil-purple ink, and Mirror for transfer paper.
Can I use the stencil in Procreate or on an iPad?
Yes. Export a PNG or a transparent SVG, import it into Procreate as a new layer, set the layer to Multiply, lower its opacity and draw your final linework on a layer above. The SVG keeps the real-world size you entered, so it imports at the right scale into vector apps too.
Convert your image now. It is free and private.
Make my stencil